Utilizing Agents in Limo Anywhere

In the ground transportation industry, agents are vital contributors who assist companies in boosting their revenue. In this blog post, we'll dive into the steps of establishing and managing agents within the Limo Anywhere.
Setting Up Agents
An agent refers to anyone who receives compensation, either through a fixed fee or a percentage-based commission, for making a sale on behalf of the company. These agents can include company employees or individuals who are not directly employed by the company, such as hotel concierges or travel agents. To add an agent to your system:
- Click the “My Office” icon in the Navigation Bar.
- Select the “Company Resources” tab and click the “Agents” button from the left-hand menu.
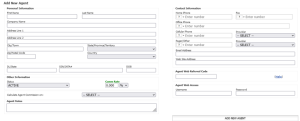
- Enter the agent’s information in the blank form on the right side of the screen by completing the following fields
- Personal Information
- First and Last Name (this is the only required field to create an agent profile)
- Company Name (if applicable)
- Street Address, City, State, and Zip Code
- Driver’s License Number, Social Security Number, and Date of Birth (Note: Because agents are paid this information will most likely be required for reporting tax purposes.)
- Other Information
- Enter the commission to be paid on each trip in the Comm Rate field. Commissions can be set as a flat fee or paid out based on a percentage.
- Select either “Base Charges” or “Grand Total” from the “Calculate Agent Commission on:” drop down.
- Contact Information
-
- Phone Number
- Fax Number
- Office Phone
- Cellular Phone and Provider
- Pager/Other and Provider
- Email Address
- Website Address
- Agent Web Referral Code
- Note: This code must be unique for each Agent and not contain any special characters or spaces. For more information see the section below.
- Agent Web Access
-
- Personal Information
- Click “ADD NEW AGENT” to save the information and add the agent to your system.
Utilizing the ORES Agent URL
The ORES Agent URL enables you to provide agents with a unique URL, allowing them to make reservations while ensuring that the reservation is linked to them. This ensures they receive the appropriate commission if applicable.
For example, consider a scenario where you've partnered with a local hotel, offering a 5% commission for each reservation they make on behalf of their guests through your company. By providing them with an Agent URL, they can start making reservations for their guests right away, and the reservation will automatically reflect their commission rate. To create a unique booking link for an agent:
- Click the “My Office” icon in the Navigation Bar.
- Select the “Company Resources” tab and click the “Agents” button from the left-hand menu.
- Add a new agent using the steps above or editing an existing agent by selecting an agent from the menu and clicking the “EDIT AGENT” button.
- Enter the code you would like to use for the agent’s bookings. Note: this code must be unique for each agent and cannot include spaces or special characters.

5. Click either the “SAVE AGENT” or “UPDATE AGENT” button to save the changes.
6. Once the agent’s information has been saved you will now see a unique booking URL that you can provide to the agent by selecting the “Copy” button.

- When the agent books with their provided URL their information will automatically be added to the reservation as the primary agent.

We appreciate your valuable insights and feedback, as they play a pivotal role in enhancing our solutions to better serve your needs.
Whether it’s a suggestion, concern, or new idea, we want to hear from you! Please your feedback to our Product Team at productteam@limoanywhere.com.
Recent Posts

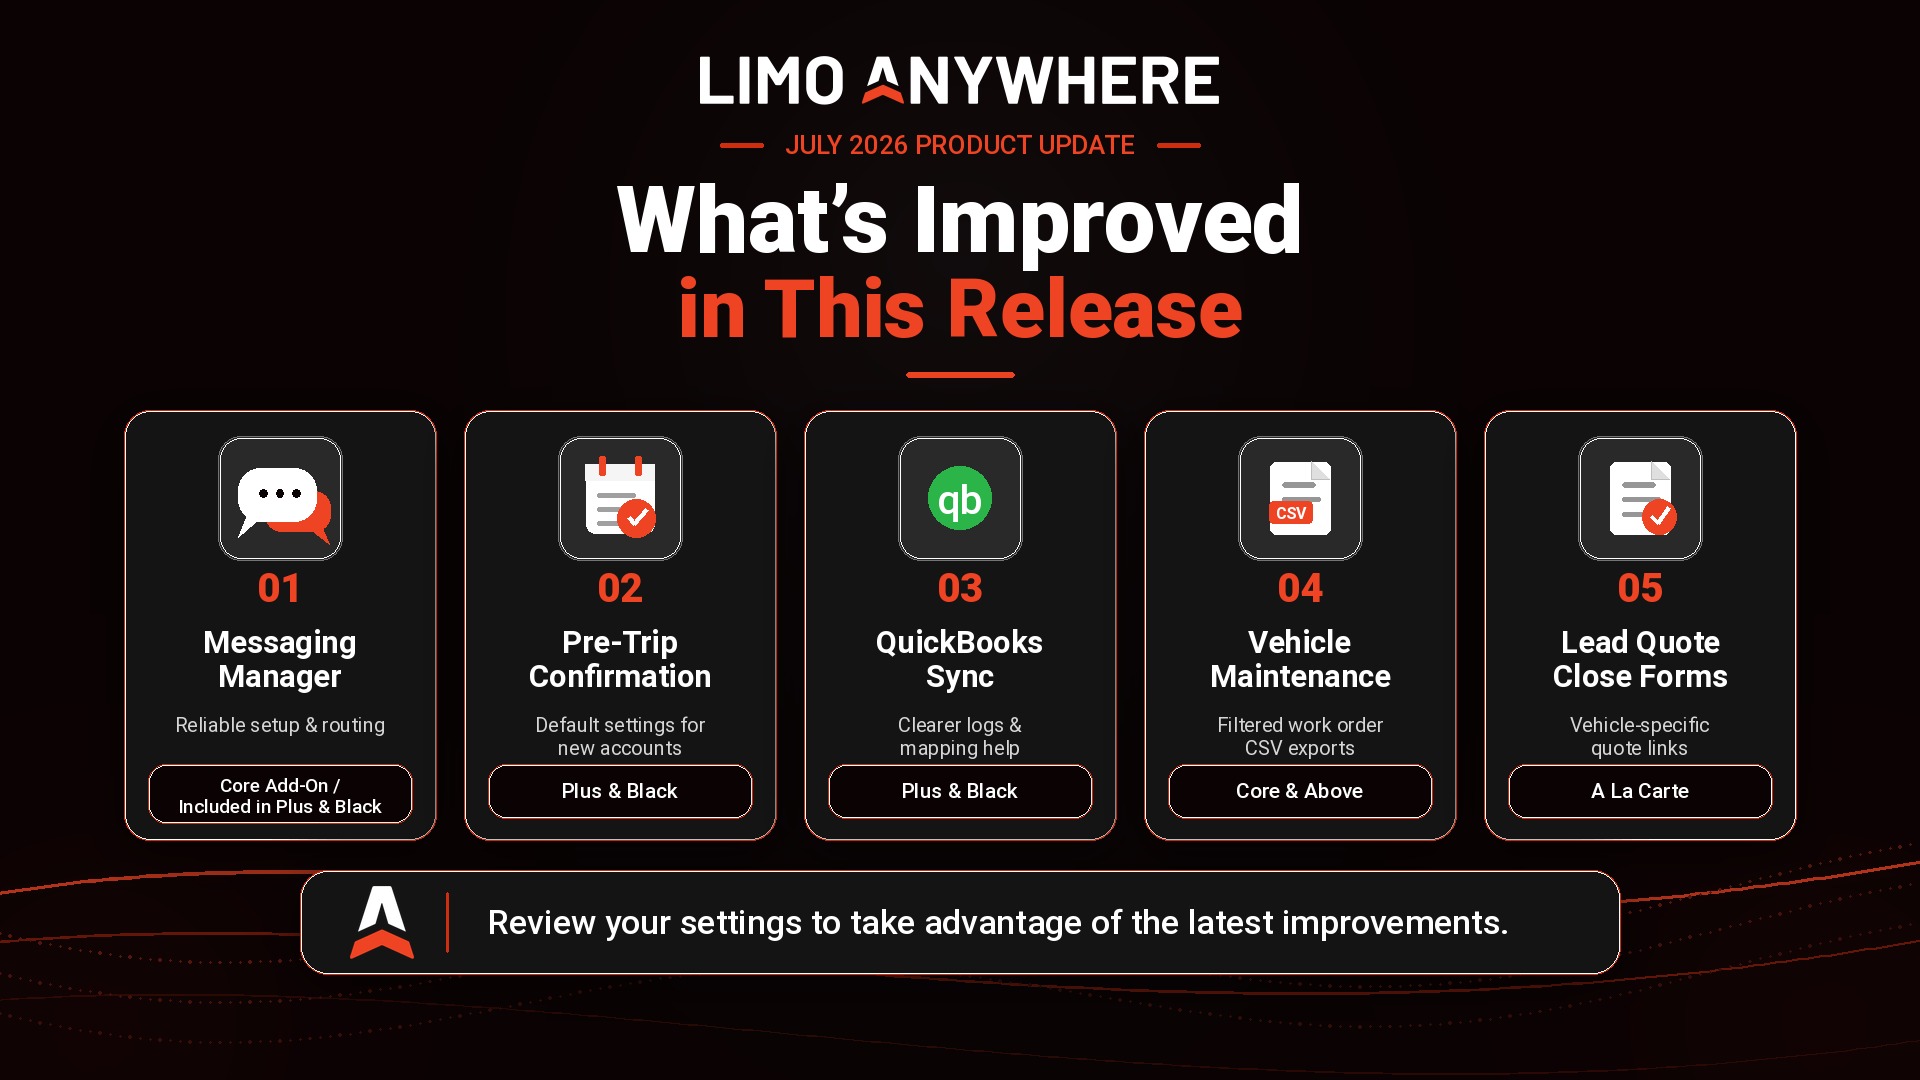
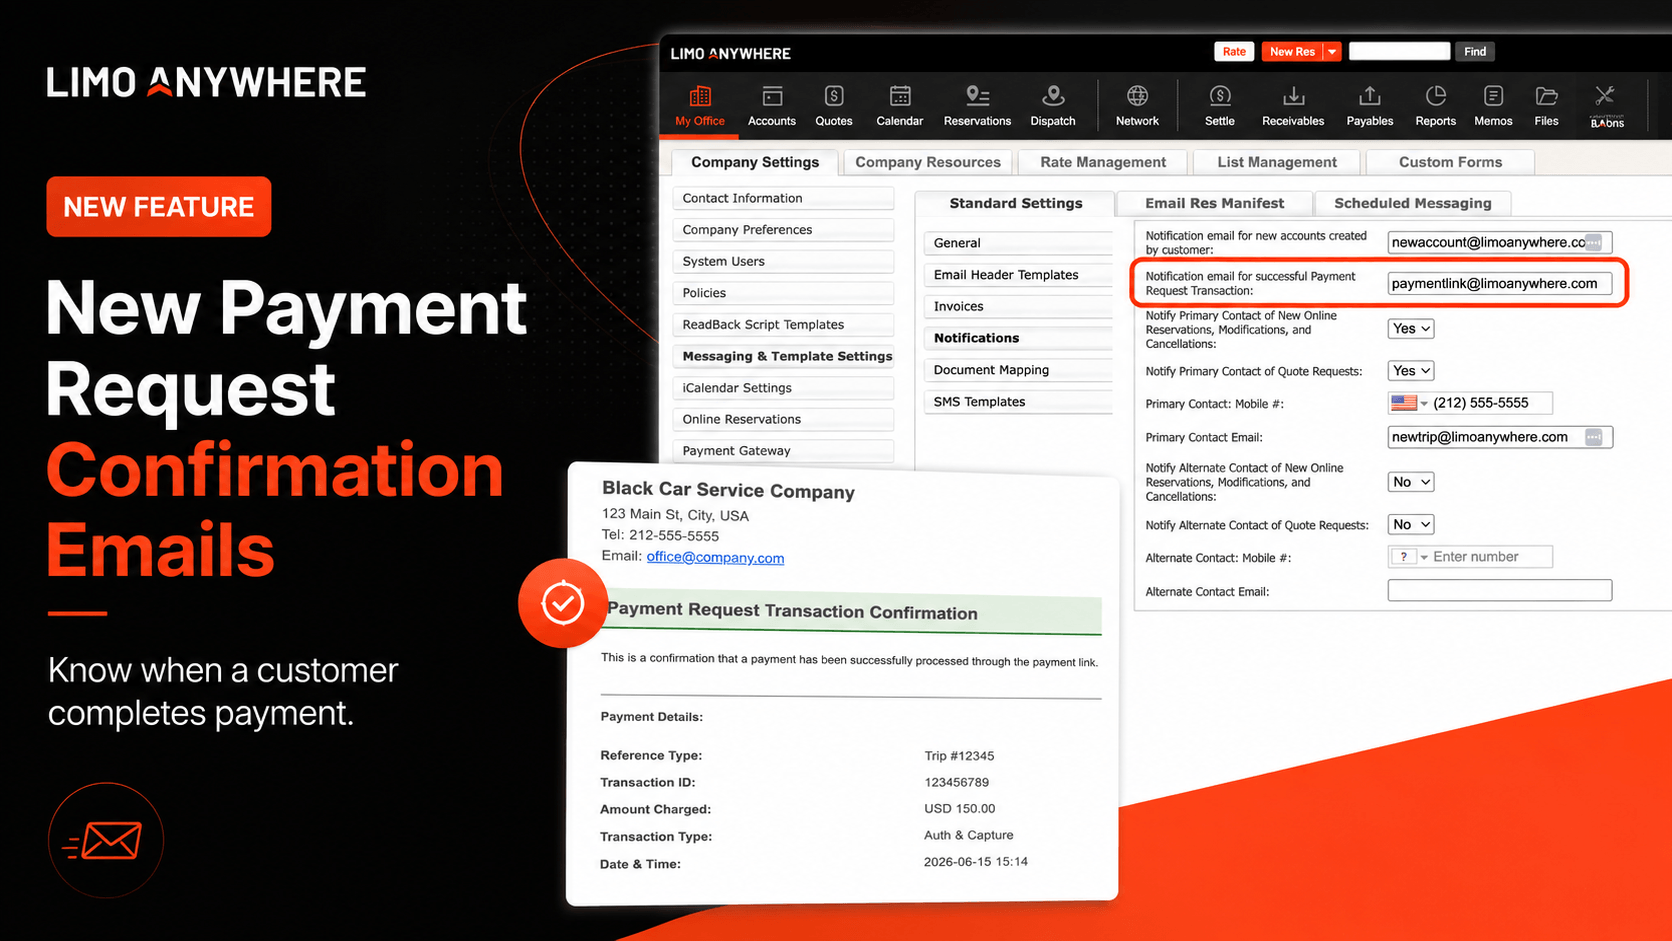
July Product Release Update
Sunday July 5, 2026