Making the Most of the New Dispatch Grid: Setting Up Your Grid
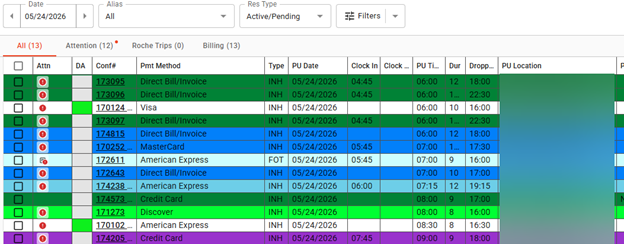
Back in October, we announced the new dispatch grid was in early access. This update introduced a more customizable layout designed to give you clearer visibility into your trips and more control over how information is displayed.
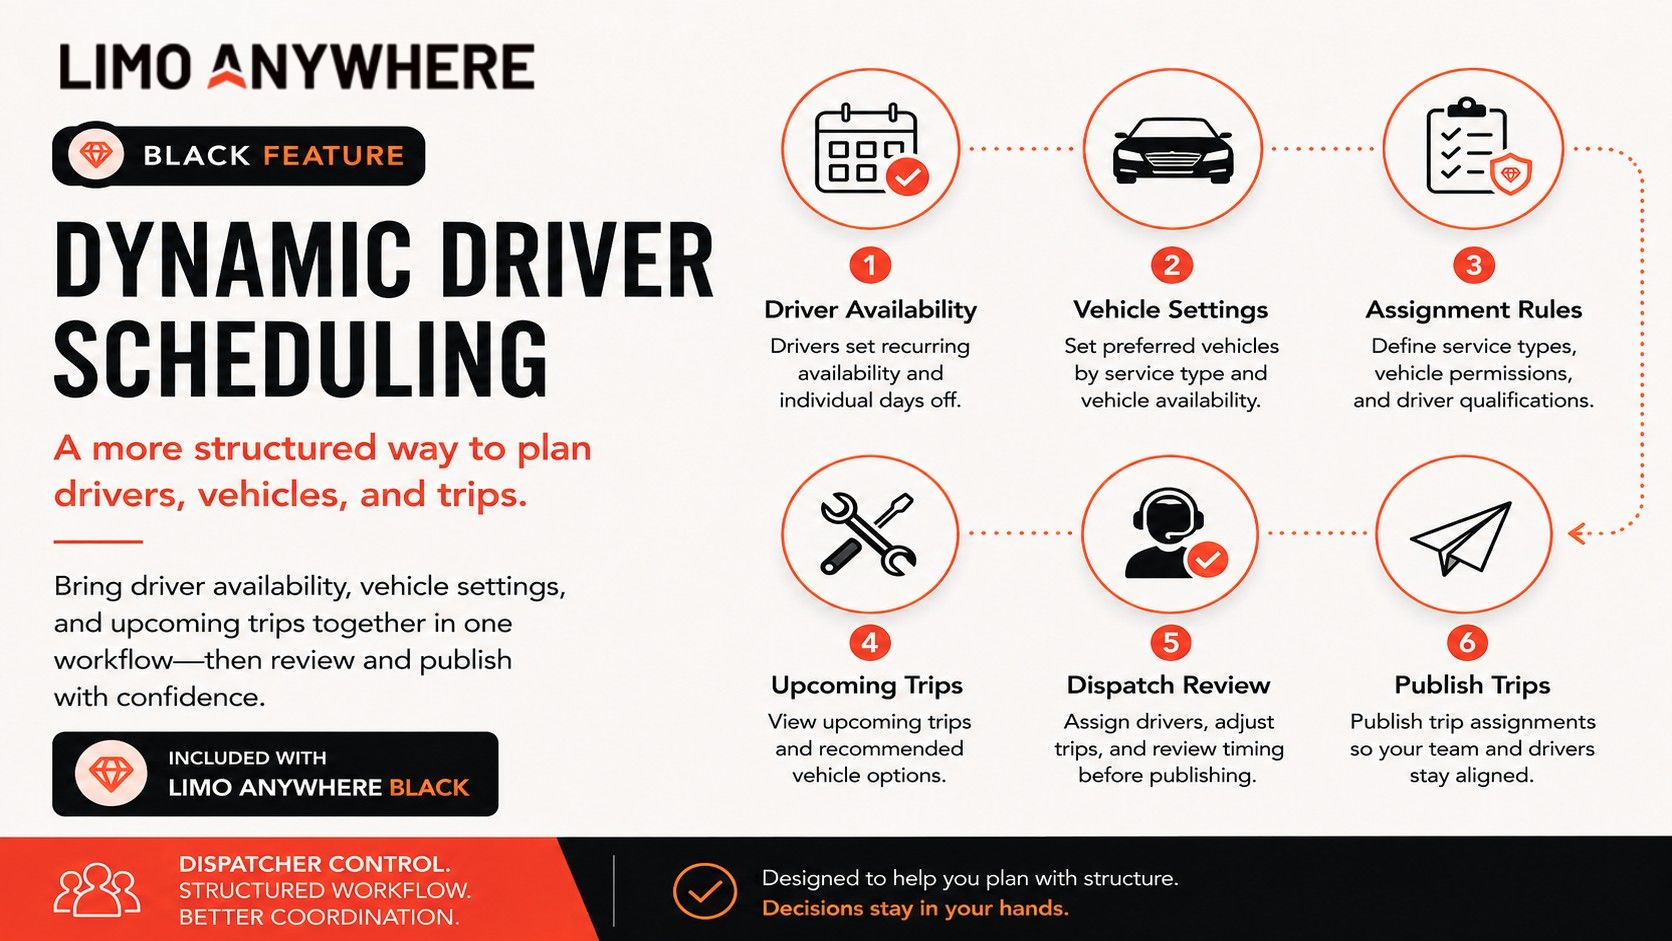
In our new blog series, Making the Most of the New Dispatch Grid, we’ll break down its features and how they can support your day-to-day operations.
In this first post, we’ll walk through how to configure your grid so you can tailor it to the different roles within your operation, whether that’s dispatch, reservations, or management.
Configuring the Dispatch Grid
There are two ways to adjust the information shown on your dispatch grid. You can update your column settings through “Dispatch Settings,” or make changes directly within the grid and save your layout from there.
Dispatch Settings
To access your dispatch grid settings:
- Click the kebab menu ( ⋮ ) in the top right corner of your screen.
- Select “Dispatch Settings” from the dropdown menu.
- Click “Grid Columns” in the left-hand menu.
From here, you can manage your Active and Inactive columns. To remove a column from your grid, drag it into the Inactive Columns list. To add one back, drag it into the Active Columns list.
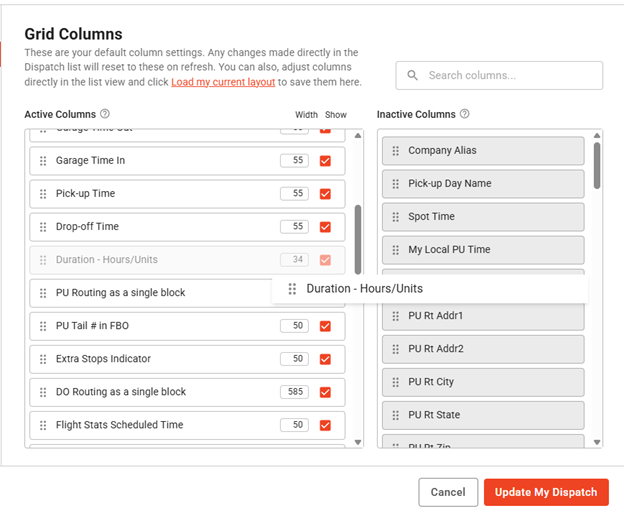
The width of each column carries over from your current setup. You can adjust the width numerically in the settings or manually resize columns directly within the dispatch grid.
The “Attention” column remains fixed in place. All other columns can be reordered by dragging them vertically within the Active Columns list.
When you’re finished, click “Update My Dispatch” to save your changes.
Manually Adjusting the Dispatch Grid
In addition to using “Dispatch Settings,” you can also make adjustments directly within the grid.
To resize a column, hover over the far-right edge of the column header. When the resize cursor appears, click and drag to expand or reduce the width.
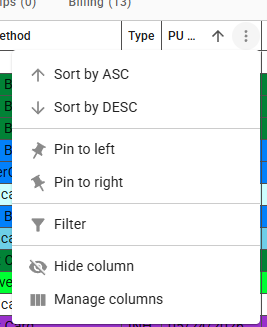
You can also make changes to individual columns by hovering over the column header and clicking the kebab menu. From the dropdown, you can pin the column, hide it, sort it, or apply filters as needed (we’ll cover filtering in more detail in the next blog post).
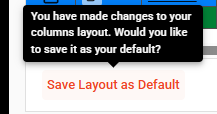
After making changes, you’ll have the option to save the current layout as your new default.
We’d love to hear how you’re utilizing the new dispatch grid. Share your current setup or layout preferences in our Facebook group and let us know what’s working well for your operation.
Recent Posts
A More Proactive Way to Manage Driver and Affiliate Compliance
Wednesday July 22, 2026