Creating Custom Forms in Limo Anywhere

Custom Forms in Limo Anywhere give operators a flexible way to create polished, branded documents for customers, chauffeurs, affiliates, and internal teams.
While Limo Anywhere includes built-in confirmations, invoices, receipts, and templates, some operations need documents that are more customized. Whether you are creating a branded reservation confirmation, chauffeur trip sheet, affiliate-facing document, or rental agreement, Custom Forms help you present information clearly and professionally.
Custom Forms can be as simple or as complex as your operation requires. Depending on your experience with HTML and document design, forms can be created using either the HTML Editor or the WYSIWYG Rich Text Editor.
Understanding Custom Form Types
When creating a Custom Form, you will generally work with one of two categories.
Generated from reservations
These forms are commonly used for:
- Reservation confirmations
- Chauffeur trip sheets
- Affiliate trip sheets
- Payment receipts
- Rental agreements
Generated from receivables
These forms are commonly used for:
- Invoices
- Statements
- Billing documents
Selecting the appropriate form type ensures the necessary information is available when the form is generated.
Creating a Custom Form
- Click the My Office button in the Navigation Bar.
- Select the Custom Forms tab.
- Choose either Trip Email & Print or Invoice Email & Print from the left-hand menu.

- Click the New button.
- Enter a clear name for the form.
- Select the appropriate Form Class from the drop-down menu.
- If creating a Customer form, specify whether it should go to the Billing Contact, Passenger, Booking Contact, or a combination of contacts.
- Enter the subject line that should appear when the form is emailed.
- Click Save to create the form and begin editing the layout.
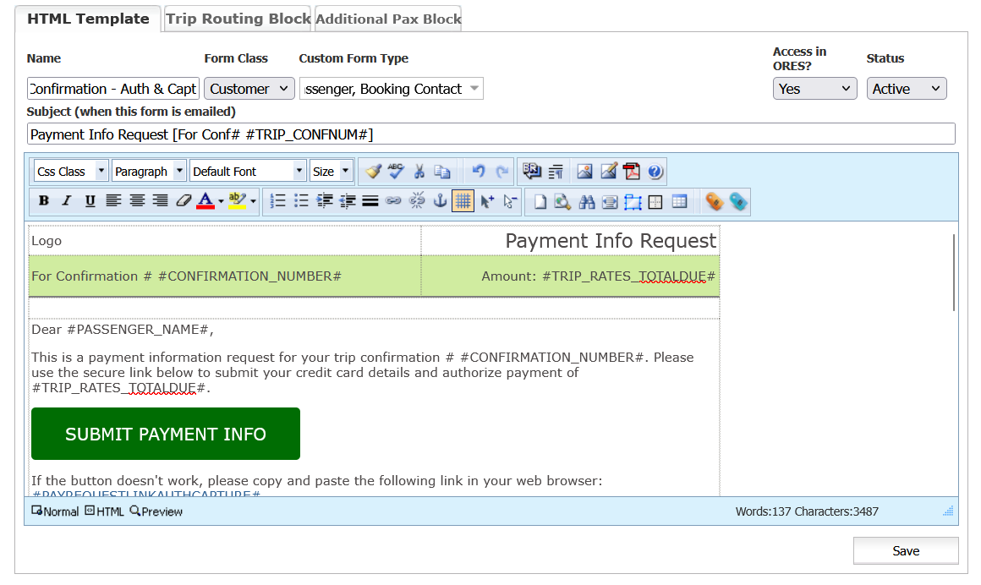
Using Dynamic Information in Custom Forms
One of the most powerful features of Custom Forms is the ability to automatically populate information from a reservation.
For example:
#TRIP_CONFNUM#
This tag automatically displays the reservation confirmation number when the form is generated.
Rather than manually updating information for each reservation, Dynamic Tags allow a single form template to be reused across multiple reservations while still displaying reservation-specific information.
To view available tags while editing a form, select either the Trip Tags or Rate Tags icon from the editor toolbar.
If you would like to learn more about Dynamic Tags, read our article on Using Dynamic Tags Throughout Limo Anywhere.
Building More Readable Forms with Tables
One of the easiest ways to improve the appearance and readability of a Custom Form is by using tables.
Tables help organize information into clearly defined sections and make it easier for customers, chauffeurs, and affiliates to quickly find what they need.
Common table sections
- Reservation information
- Passenger information
- Routing details
- Pricing information
- Terms and conditions
Why tables help
Instead of presenting all information in one large block of text, tables create a cleaner, more professional document that is easier to scan and use.
To insert a table:

- Click the Insert Table icon from the editor toolbar.
- Select the desired number of rows and columns.
- Populate the table using text, Dynamic Tags, and formatting as needed.
- Continue adding tables for each major section of the form.
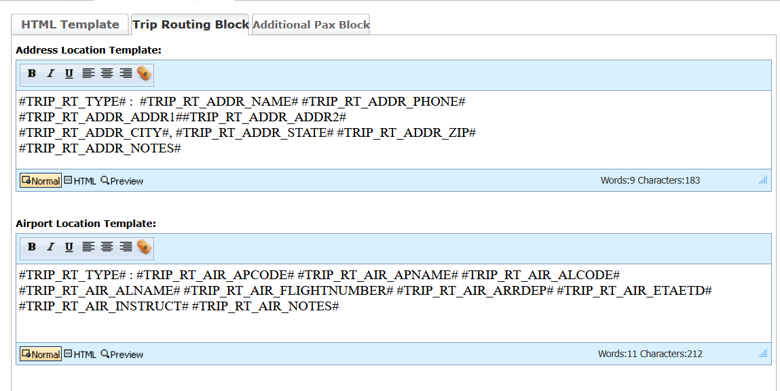
Creating Custom Routing Blocks
Custom Routing Blocks provide a way to standardize how routing information is displayed across multiple forms.
Instead of recreating pickup and drop-off formatting each time a new form is created, Routing Blocks can be reused throughout multiple templates. This helps ensure consistency and reduces maintenance when forms need to be updated.
To access Routing Blocks:
- Click the My Office button in the Navigation Bar.
- Select the Custom Forms tab.
- Open the Custom Form you would like to modify.
- Click the Edit button.
- Select the Trip Routing Block tab.
Routing Block templates are available for:
- Address locations
- Airport locations
- Seaport locations
- FBO/private aviation locations
- Points of interest
Once configured, Routing Blocks can be copied and reused across multiple forms, helping create a more consistent experience for customers and chauffeurs.
Common Uses for Custom Forms
Depending on your operation, Custom Forms can be used for much more than reservation confirmations.
Customer-facing forms
- Reservation confirmations
- Invoices
- Payment receipts
- Rental agreements
- Credit card authorization forms
Operational forms
- Chauffeur trip sheets
- Affiliate trip sheets
- Wedding planning forms
- Event information forms
- Internal operational documents
Best Practices for Custom Forms
- Use Dynamic Tags whenever possible to reduce manual data entry.
- Use tables to improve readability and organization.
- Test forms before making them available to customers, chauffeurs, or affiliates.
- Maintain consistent branding across forms.
- Review forms periodically to ensure information remains current.
- Keep each form focused on the information the recipient actually needs.
Custom Forms provide a flexible way to create professional, consistent documents throughout your operation. Whether you are building confirmations, invoices, trip sheets, or rental agreements, Custom Forms can help streamline communication while creating a more polished experience for staff, affiliates, and passengers.
Have Custom Form Ideas?
We would love to hear how your operation is using Custom Forms. Share ideas, examples, and best practices in the Limo Anywhere Peer Support Facebook Group.
If you have questions about creating or modifying Custom Forms, contact Limo Anywhere Support at 972-701-8887, Option 2, or email Support@LimoAnywhere.com.
Recent Posts

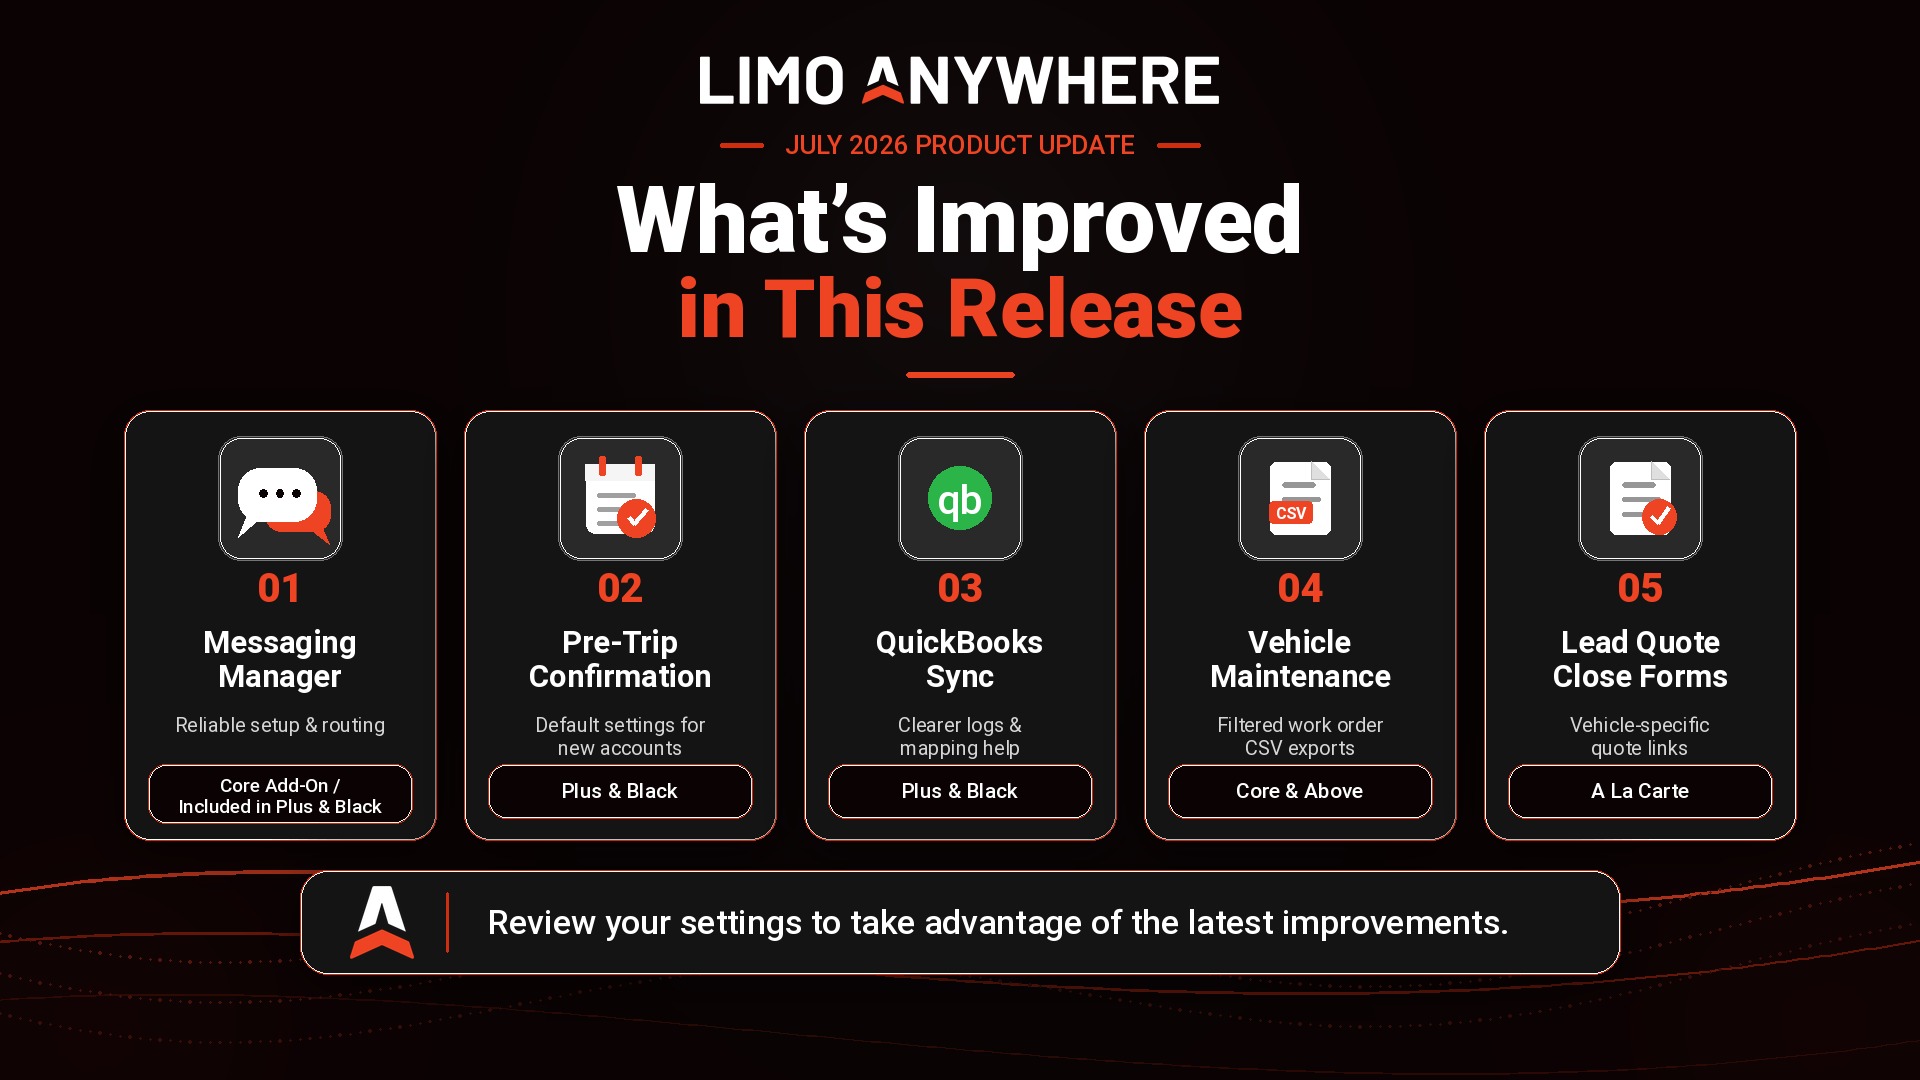
July Product Release Update
Sunday July 5, 2026